Getting Started with VHS in TypeScript: Terminal GIFs Written as Code
A GIF of your CLI in the README is worth a page of prose, but recording one by hand is fiddly: you mistype, you wait too long, and the next release makes it stale. VHS, from Charm, turns the recording into a script. You write what to type and how long to wait in a .tape file, and it drives a real terminal and renders the result.
@oakoliver/vhs is our TypeScript port of VHS v0.11.0. It runs on Node and Bun, uses the same tape language, and can also be called from code. Every animation in our ports' READMEs is made with it.
A tape is a few lines of text, and the GIF next to each tape below was rendered from exactly that tape.
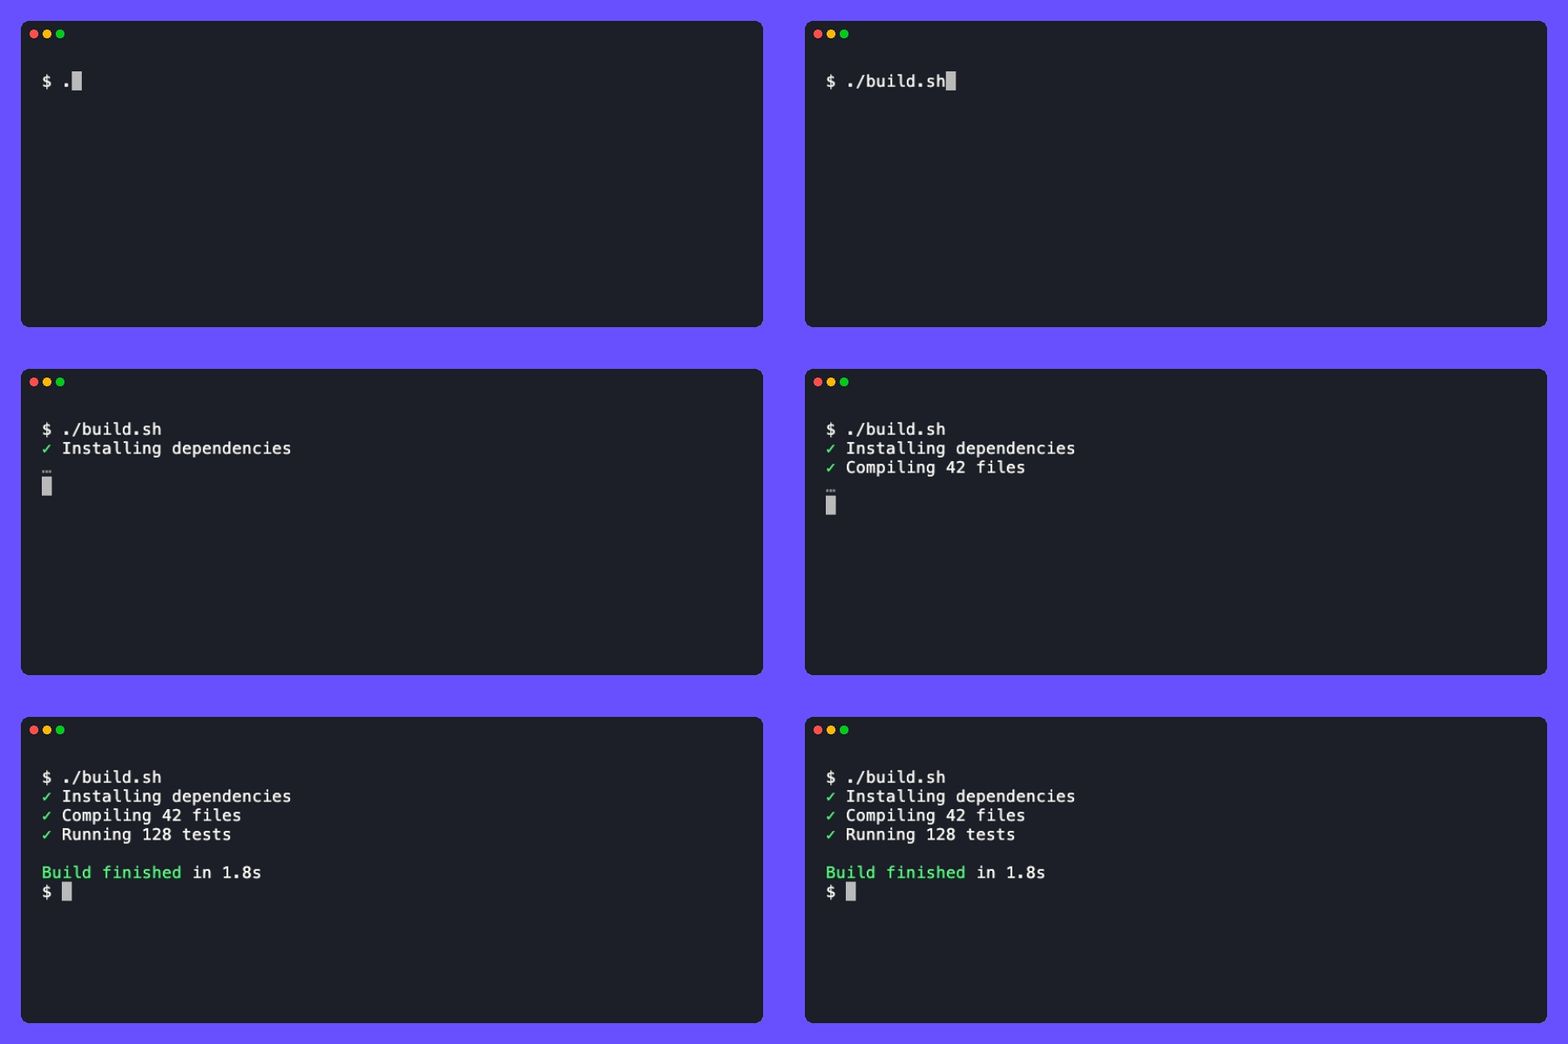
I – Install It and Its Prerequisites
npm install @oakoliver/vhs
# or
bun add @oakoliver/vhs
VHS drives a real terminal, so it needs three things on your machine:
- ttyd, which runs your shell behind a local web terminal.
- ffmpeg, which turns the captured frames into a GIF, MP4 or WebM.
- Chrome, which displays that terminal so VHS can capture it. The install fetches one through Puppeteer: a download of about 275 MB, unpacked under
~/.cache/puppeteer.
On macOS, brew install ttyd ffmpeg covers the first two; the README lists the Linux and Windows equivalents.
If you'd rather use the Chrome you already have, skip the download at install time and point VHS at your browser when you run it:
PUPPETEER_SKIP_DOWNLOAD=1 npm install @oakoliver/vhs
PUPPETEER_EXECUTABLE_PATH="/Applications/Google Chrome.app/Contents/MacOS/Google Chrome" npx vhs first.tape
Check that it runs:
$ npx vhs --version
vhs version 1.1.0
II – Your First Tape
A tape is a list of commands, one per line. Output names the file to write, Type types text, Enter presses Enter, and Sleep waits.
# first.tape
Output first.gif

Type "echo 'Hello from vhs'"
Enter
Sleep 1s
npx vhs first.tape
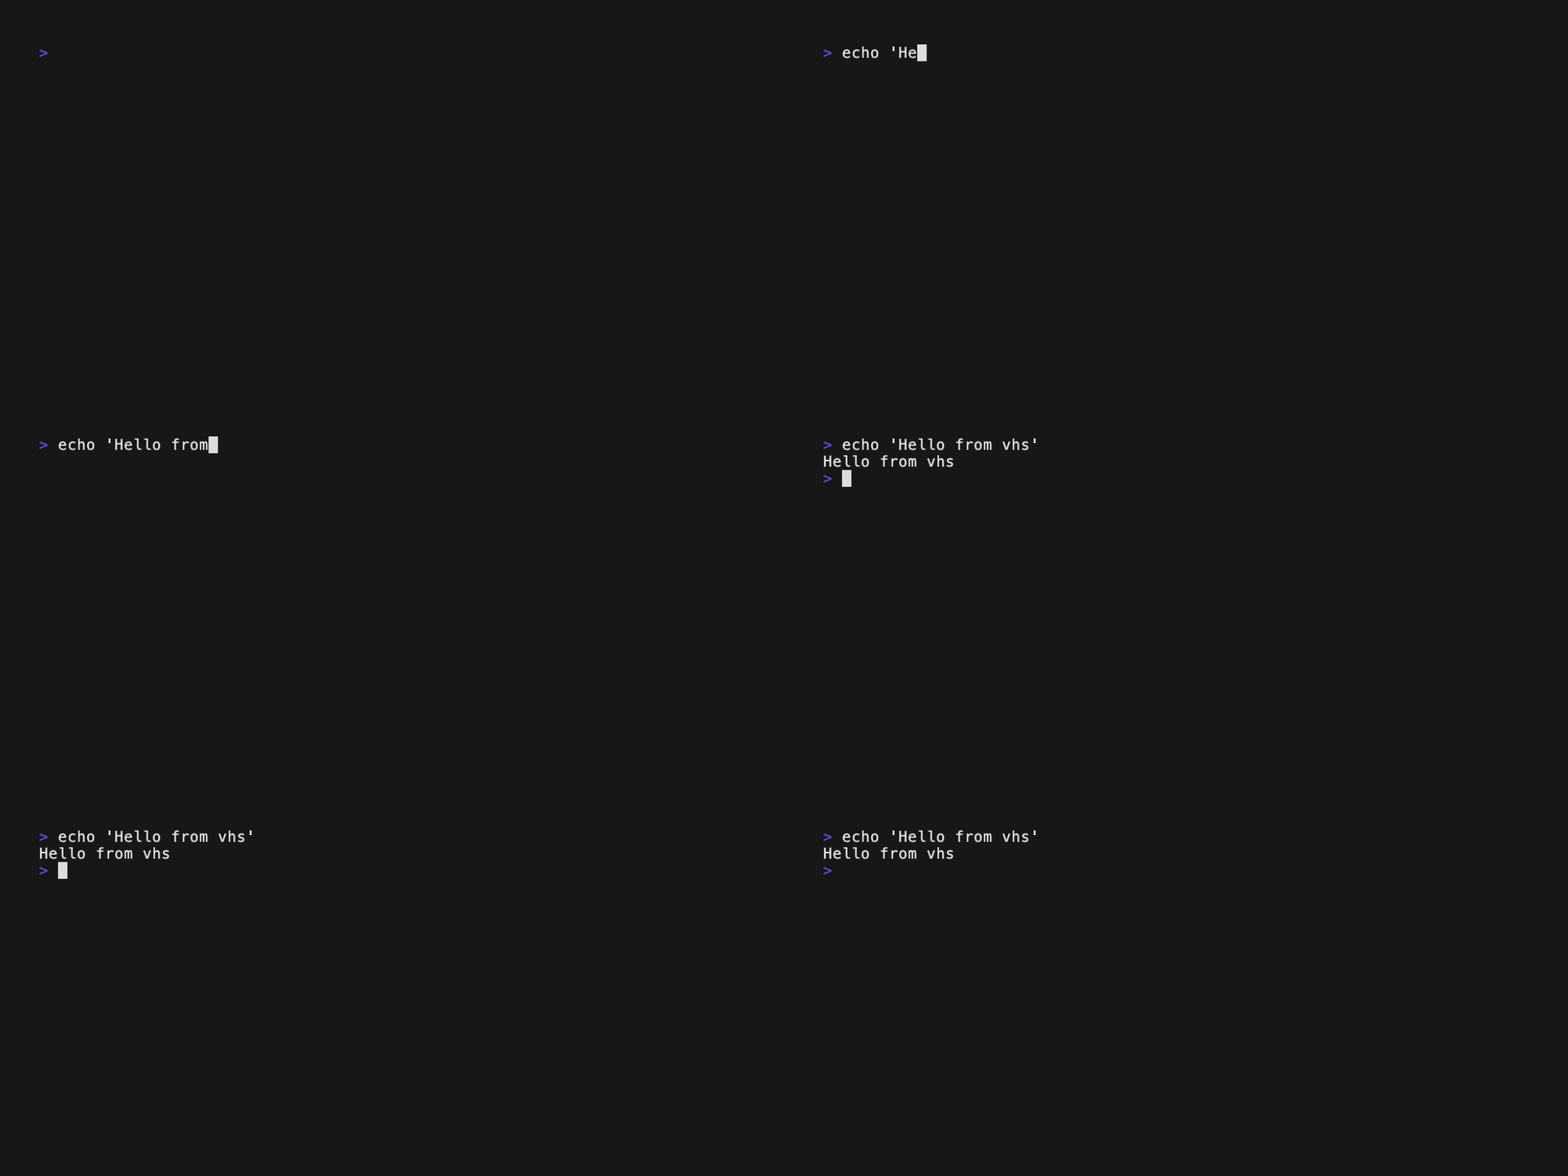
With no settings you get a 1200×600 terminal in VHS's default theme. VHS prints each command as it runs, followed by ffmpeg's log. That log is ffmpeg's normal output, not an error, and it's there even with --quiet.
III – A Real Demo: Settings, Hidden Setup and Waiting
Here's something worth recording, a stand-in for a build that takes a moment:
# build.sh
#!/usr/bin/env bash
# A stand-in for a real build: prints a few steps with pauses.
green=$'\e[32m'; dim=$'\e[2m'; reset=$'\e[0m'
for step in "Installing dependencies" "Compiling 42 files" "Running 128 tests"; do
  printf '%s…%s\n' "$dim" "$reset"
  sleep 0.6
  printf '\e[1A\e[2K%s✓%s %s\n' "$green" "$reset" "$step"
done
printf '\n%sBuild finished%s in 1.8s\n' "$green" "$reset"
And a tape that records it properly:
# demo.tape
Output demo.gif

# Settings come first: a Set after any other command is ignored.
Set FontSize 18
Set Width 900
Set Height 340
Set Padding 24
Set Theme "Catppuccin Mocha"
Set TypingSpeed 60ms

# Setup the viewer doesn't need to see.
Hide
Type `export PS1='$ ' && clear`
Enter
Show

Type "./build.sh"
Sleep 400ms
Enter

# Wait until the output matches, instead of guessing a Sleep.
Wait+Screen@10s /Build finished/
Sleep 1.5s
Screenshot demo.png
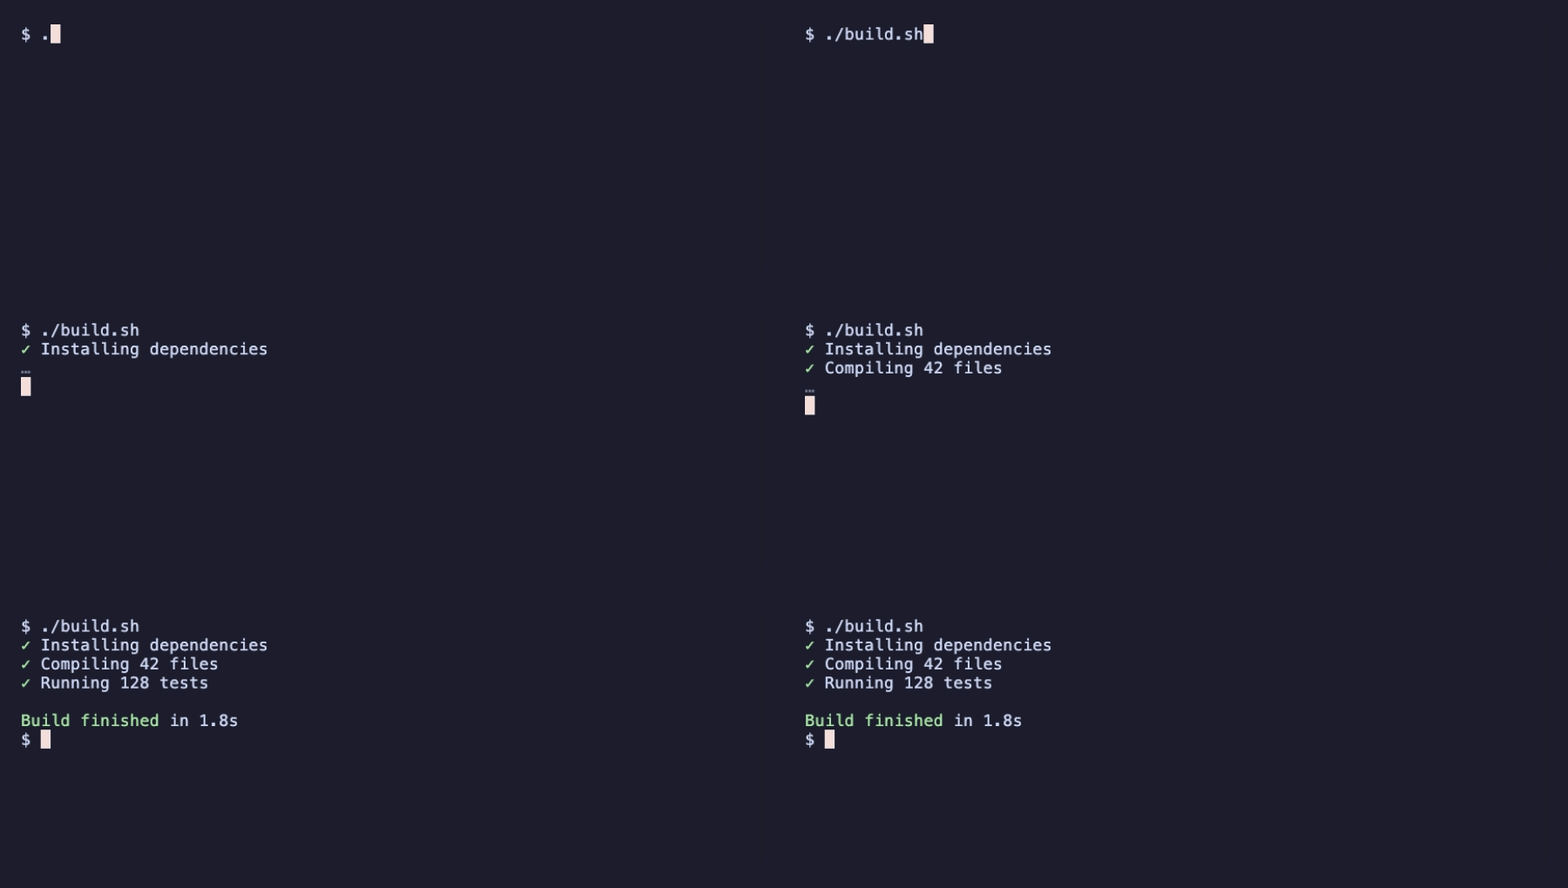
Five things are new:
Setconfigures the recording: size, font, padding, theme and typing speed. Settings must come before everything else. ASetfurther down is skipped with a warning:WARN: 'Set FontSize 30' has been ignored. Move the directive to the top of the file.HideandShowbracket commands that run but aren't recorded. Here they set a short prompt. Hiding stops recording frames but doesn't clear the screen, which is why the hidden line ends withclear.- Backticks are a third kind of string quote. The setup line contains both kinds of quotes, so it's wrapped in backticks. See section VII for why that matters.
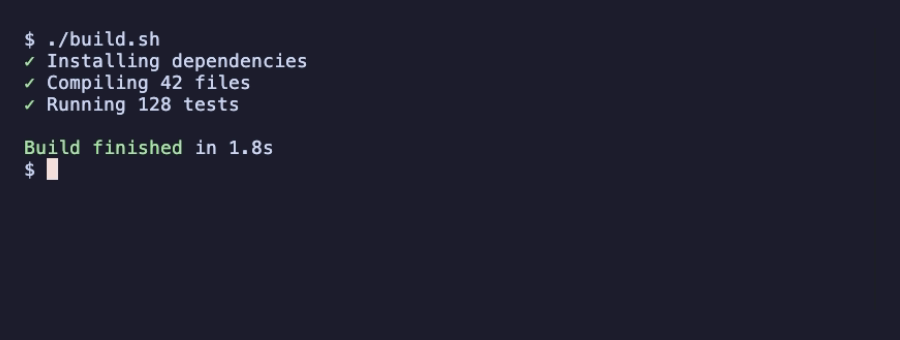
Wait+Screen@10s /Build finished/pauses until the regular expression matches somewhere on the screen, failing after 10 seconds. That's sturdier than guessing aSleep. PlainWaitchecks only the current line.Screenshot demo.pngsaves a PNG of the next frame, which makes a good still for docs:
IV – Making It Look Good
npx vhs themes lists the 348 bundled themes. Pick one with Set Theme. Three more settings frame the terminal like a window:
# styled.tape
Output styled.gif

Set FontSize 18
Set Width 900
Set Height 400
Set Padding 24
Set Theme "Dracula"
Set TypingSpeed 60ms
Set WindowBar Colorful
Set BorderRadius 10
Set Margin 24
Set MarginFill "#6B50FF"

Hide
Type `export PS1='$ ' && clear`
Enter
Show

Type "./build.sh"
Sleep 400ms
Enter
Wait+Screen@10s /Build finished/
Sleep 1.5s
WindowBar draws the title bar (Colorful, ColorfulRight, Rings and RingsRight are the styles), BorderRadius rounds the corners, and Margin with MarginFill adds the coloured frame around it. MarginFill also takes a path to an image.
V – Rendering From TypeScript
Everything the CLI does is available as a library. evaluate() takes the tape as a string, so you can build tapes in code. This script renders the same build once per theme:
// render-themes.ts
import { evaluate } from "@oakoliver/vhs";

// Render the same demo once per theme, from a tape built in code.
const themes = ["Dracula", "Catppuccin Latte", "TokyoNight", "rose-pine"];

for (const theme of themes) {
  const file = `theme-${theme.toLowerCase().replaceAll(" ", "-")}.png`;
  const tape = `
Set FontSize 16
Set Width 520
Set Height 200
Set Padding 20
Set Theme "${theme}"
Hide
Type \`export PS1='$ ' && clear\`
Enter
Type "./build.sh"
Enter
Wait+Screen@10s /Build finished/
Show
Sleep 200ms
Screenshot ${file}
`;
  const { errors } = await evaluate(tape, { output: () => {} });
  if (errors.length > 0) throw errors[0];
  console.log(`${theme.padEnd(18)} → ${file}`);
}
$ bun render-themes.ts
Dracula            → theme-dracula.png
Catppuccin Latte   → theme-catppuccin-latte.png
TokyoNight         → theme-tokyonight.png
rose-pine          → theme-rose-pine.png
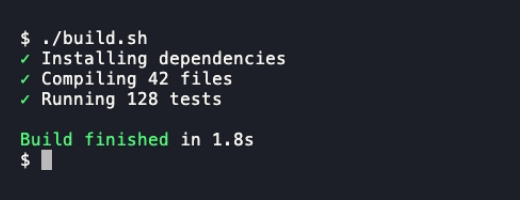
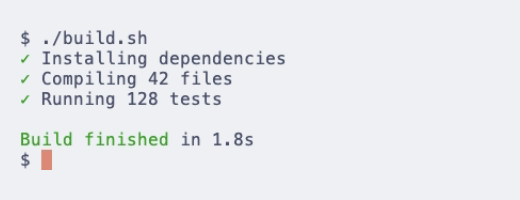
evaluate() resolves to { errors }; an empty array means the tape ran. output receives VHS's progress messages, so () => {} silences them; ffmpeg's log still goes to stderr. The whole run took about 18 seconds on Bun and on Node: each render starts its own terminal and browser.
VI – Keeping README GIFs Fresh
Keep tapes next to the code, in a tapes/ folder that writes into assets/, and add two scripts to package.json:
{
  "scripts": {
    "gifs": "for tape in tapes/*.tape; do vhs \"$tape\" || exit 1; done",
    "gifs:check": "vhs validate tapes/*.tape"
  }
}
npm run gifs re-renders every tape after a change to your CLI. npm run gifs:check only parses the tapes: it needs neither ttyd nor ffmpeg, so it's a cheap check for any CI runner, and a broken tape fails with its line and column:
$ npm run gifs:check
tapes/broken.tape: Invalid syntax:
 2:8  │ Invalid command: z
One thing to know before you automate further: GIFs aren't byte-for-byte reproducible. Rendering the same tape twice gave two different GIF files, because frame timing varies slightly between runs. Screenshot PNGs did come out identical, so a "did the output change?" check in CI works on screenshots, while GIFs are better regenerated when you release. We ran both scripts locally. A CI runner also needs ttyd, ffmpeg and Chrome installed to run npm run gifs; we haven't published a workflow for that here.
VII – Tape Gotchas
These are the ones we hit while writing this article.
A double quote inside a double-quoted string fails silently. Type "echo "hi"" doesn't raise an error: it types echo hi and carries on. If the text contains ", wrap it in single quotes or backticks. Backticks also allow both kinds of quotes, as in the setup lines above.
Absolute paths must be quoted. A path starting with / reads as the start of a regular expression, as in upstream VHS:
$ npx vhs abs.tape
Invalid syntax:
 1:1  │ Expected file path after output
Output "/tmp/demo.gif" works.
Set lines go first, and Hide doesn't clear the screen (both covered in section III).
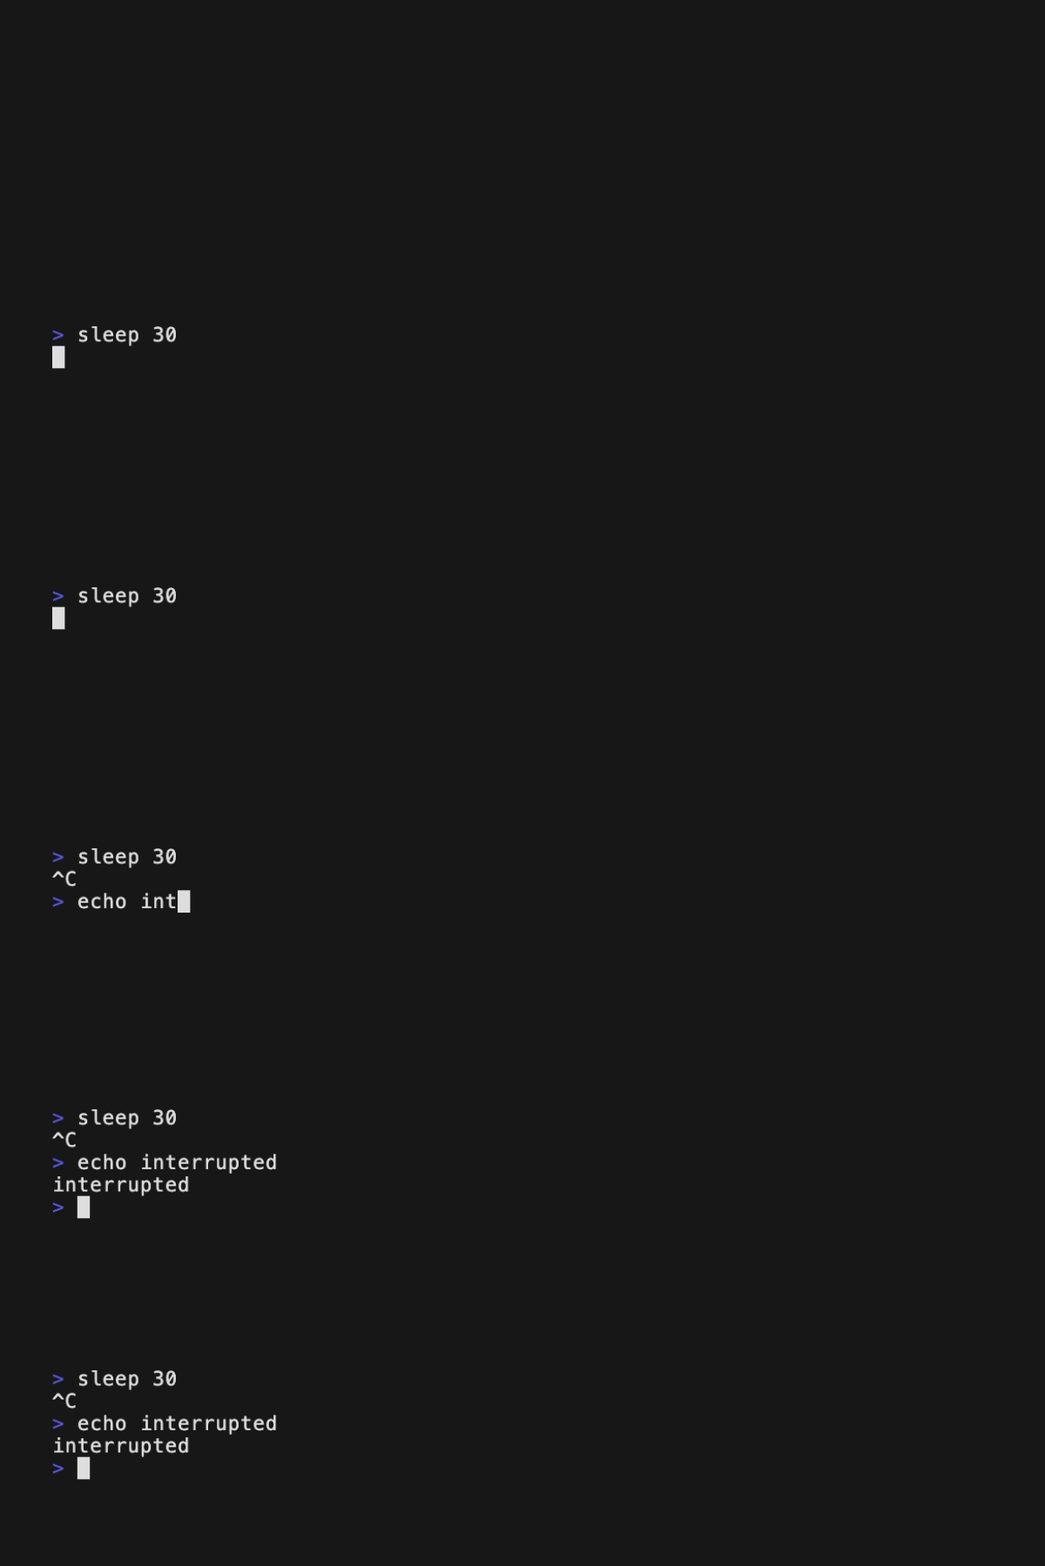
Ctrl+C works as in a real terminal, so you can show interrupting a command:
# ctrlc.tape
Output ctrlc.gif
Set Height 300
Type "sleep 30"
Enter
Sleep 500ms
Ctrl+C
Type "echo interrupted"
Enter
Sleep 500ms
VIII – What to Read Next
- The README at github.com/oakoliver/vhs has the full command and settings reference,
vhs record(type in a real shell and get a tape back), and the SSH rendering server. npx vhs manprints the tape-language reference in your terminal.- Driving Chrome yourself: VHS is built on the same idea as our rod packages: a real browser controlled over the DevTools Protocol.
- Charm's original VHS documents the same tape language.
IX – Requirements
- ttyd 1.7.2 or newer and ffmpeg. We used ttyd 1.7.7, and rendered the GIFs in this article with ffmpeg 4.2; ffmpeg 8.1 works too.
- Chrome, either the one Puppeteer downloads or your own through
PUPPETEER_EXECUTABLE_PATH. - Node.js 18 or later (the package's
enginesfield). We renderedfirst.tapewith the CLI on Node 18.20, 20.18, 22.16 and 26.8, and on Bun 1.4. To runrender-themes.tsdirectly, use Bun or Node 24+; older Node versions can run it throughtsx.